DPI WEEK 5 - Heart Mansion

Felice Jolin
Week 5 (22/10/24)
Digital Photography and Imaging
Project
1 / Exercises
TABLE OF CONTENT
WEEK 5 LECTURE (22/10/24)
1. Double Exposure
Double exposure is merging multiple images such as featuring silhouette.
You don't need a double exposure camera to do so, you can do it in
Photoshop.
- Using tilt-shift effect
This is a soft artwork where you merge
picture and blur one of them.
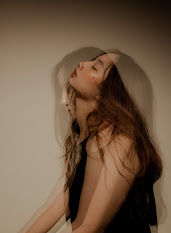
Fig.1.1.1 Tilt-shift effect
- Create fake reflection
One of the way to mae reflection is creating a double exposure
with seperate window photo.
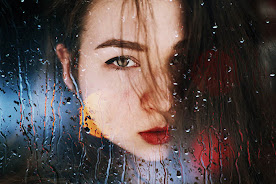
Fig.1.1.2 Reflection
- Experiment with simple portait and detailed texture
Combining plain photo with texture background will
make balance.
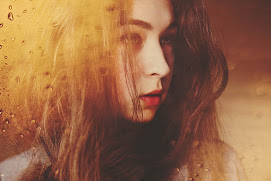
Fig.1.1.3 Portrait and Texture
- Convert result into black and white
Sometimes less colour will give out more emotion.
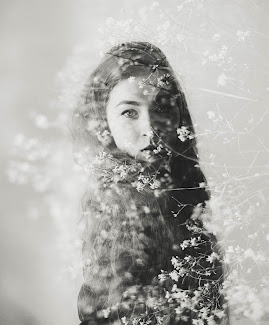
Fig.1.1.4 Black and White
- Work with Silhouette
Silhouette only could be attractive in its own way of creativity.
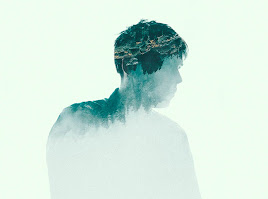
Fig.1.1.5 Silhouette
- Pick two random photos
Sometimes random photos results good and led to creativity growth.
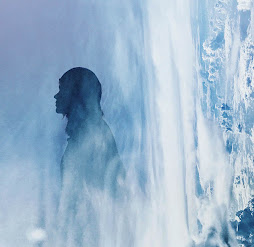
Fig.1.1.6 Two Random Photos
- Make simple object look fascinating
Make a silhoutte of an object and play with imagination.

Fig.1.1.7 Simple Object
- Use shadow
Take photos
of shadows and transform it into story.
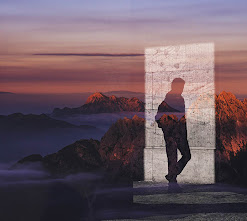
Fig.1.1.8 Using Shadows
2. Blend Modes
Blend modes is unpredictable so you should try and
error to experiment it.

Fig. 1.2.1 Blend mode
Blending two picture result:
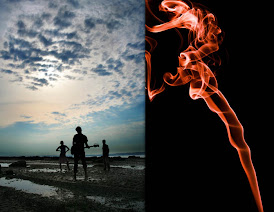
Fig. 1.2.2 Two Pictures
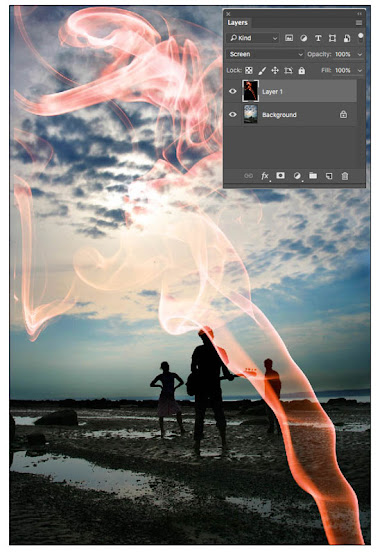
Fig. 1.2.3 Two Pictures Blended
WEEK 5 Tutorial (23/10/24)
Mr Fauzi
showed us a video of how to make DIY photography studio for small, medium,
and large object. https://youtu.be/JiVVWiqTnQc
WEEK 5 Practical (23/10/24)
We are to edit our own picture to replace shazam in this mansion. First, select our picture, quick select and place it in the
mansion. Second, match our picture colour with the mansion. Third draw
shadow with brush and use gaussian blur effect to make it realistic. Lastly,
make the reflection in the water and give it gaussian blur effect too.
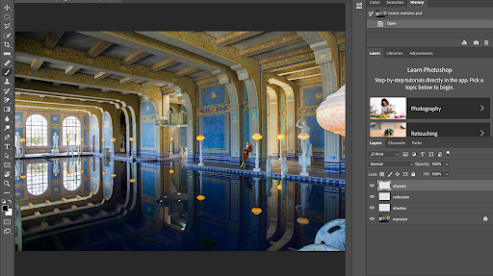
Fig. 2.1 Example
Before proceeding to my own picture, I prractice using shazam first.

Fig, 2.2 Shazam
I later on do the exercise with my picture and edit it into the mansion.

.jpg)

Komentar
Posting Komentar